Gilding Royalview’s Crown; Before and After Makeover

Gold Leafed Metal Crown.  Gold Leaf Kit from Amazon.
https://amzn.to/4mvqjeG
acrossthelake.blog

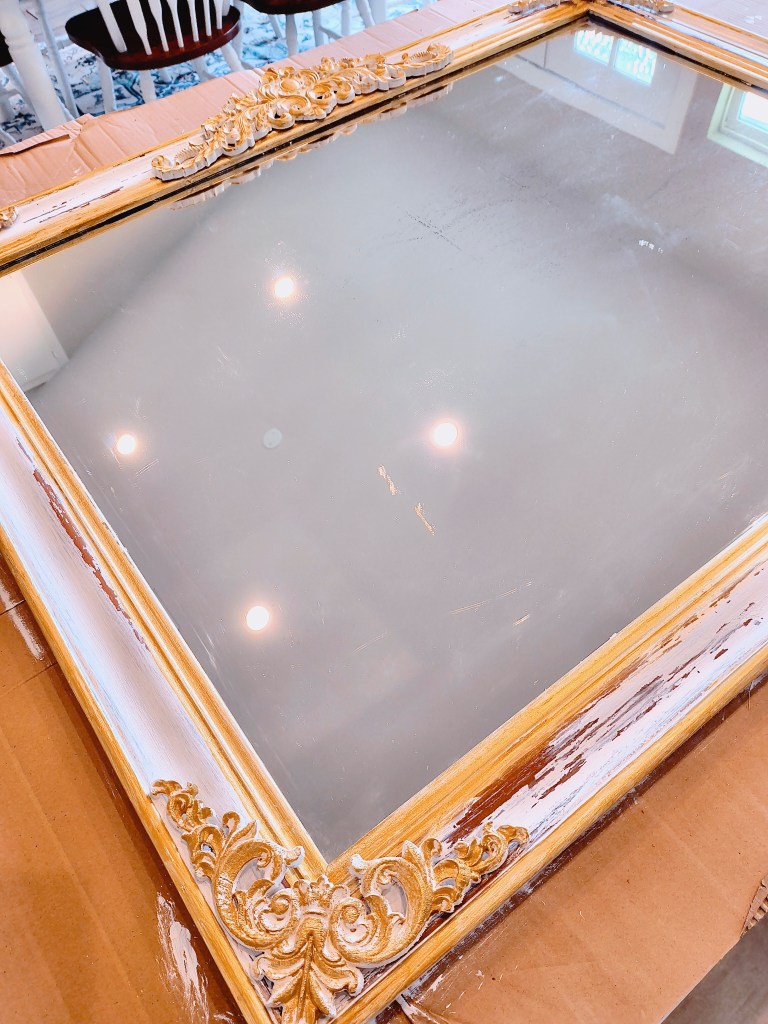
What would Royalview be without a crown, I ask? But you know what? I never really thought about a crown for Royalview. I just happened to be scrolling through FB and saw a post a few months ago about my friend Kelly’s new booth at Rosey Opals in New Waverly, and spotted this little cutie and knew immediately it was for Royalview.

In the photo of the crown, I could tell it was weathered. Must have been an outdoor decorative piece before, but I knew I wanted to give it new life for our indoor decor.

Before pic of Royalview's crown.  Weathered and rusted.
acrossthelake.blog

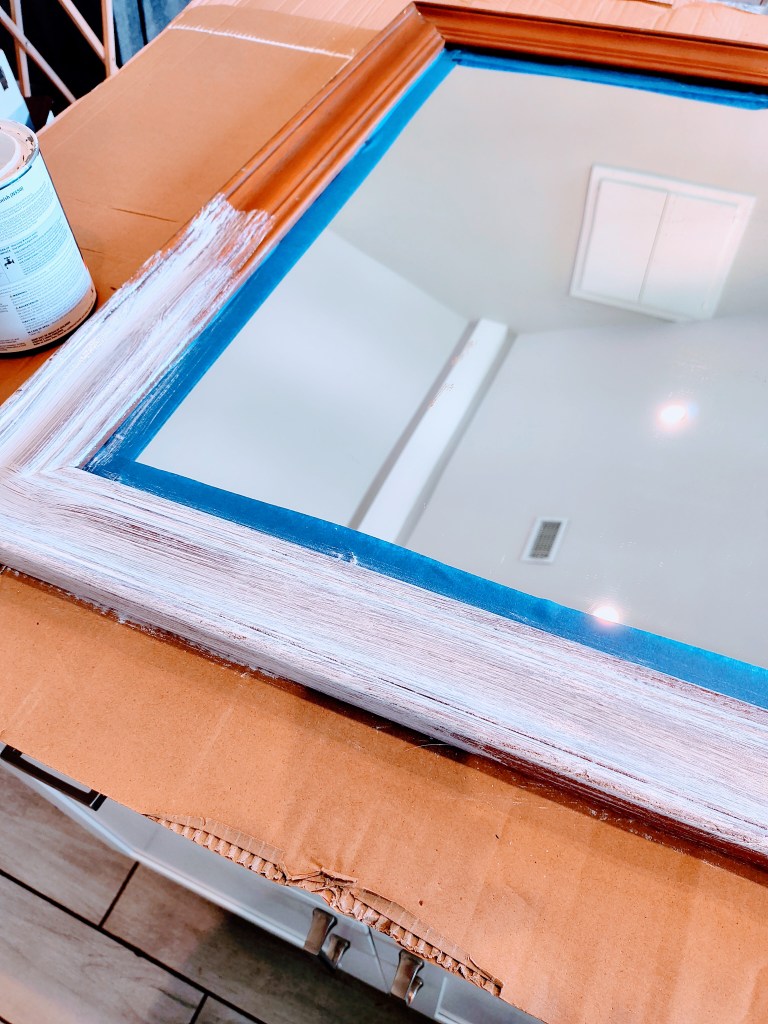
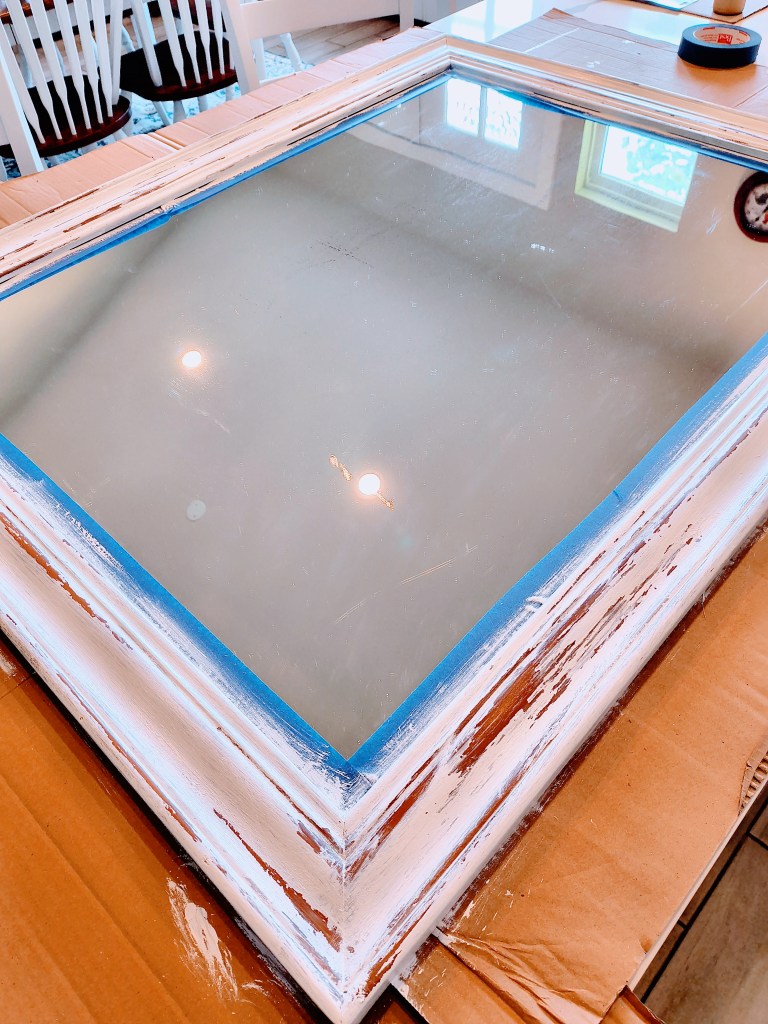
Once Willie cleaned off the chipping paint, it really revealed a lot of rust underneath. I knew I wanted to attempt my first ever gold leafing project, but it needed a fresh coat of paint first, so I began with white paint.

Royalview's crown transformation in progress:  Painting it in white.
acrossthelake.blog
Royaview's crown transformation in progress: Now painted in white.
acrossthelake.blog

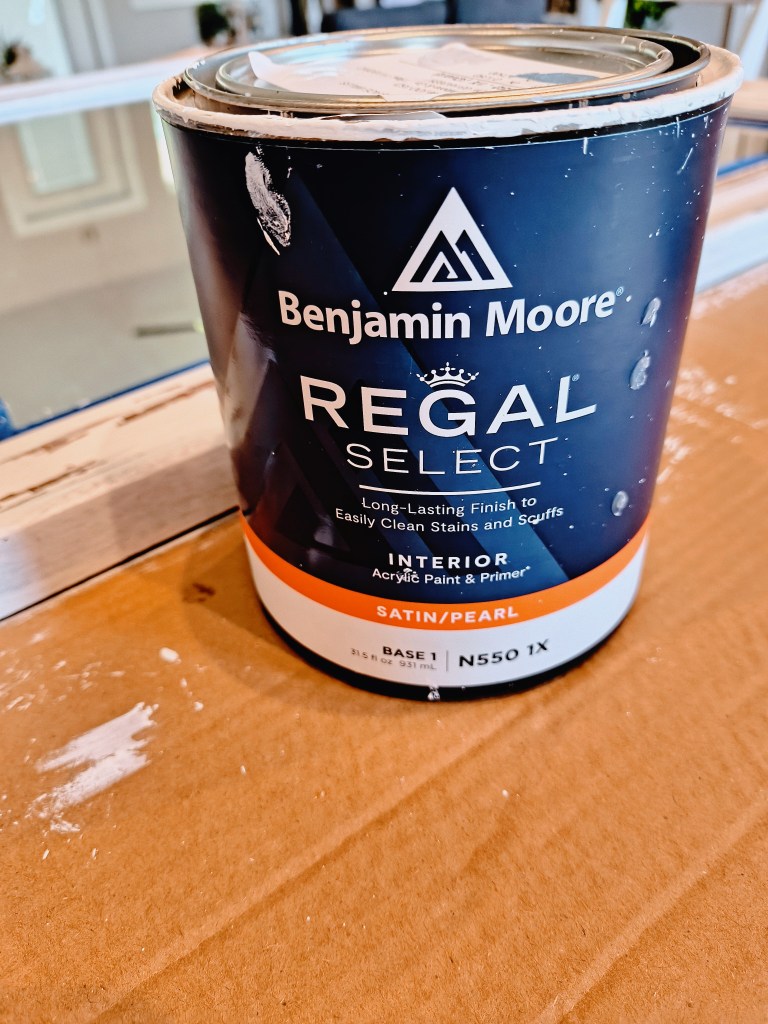
I now had a fresh surface to begin gold leafing Royalview’s crown. (Disclaimer: I am not a refinishing professional and do not have professional advice to administer. I am learning as I go, and all items are for our personal use in our private home.) I will tell you however, that all items I use are water based, so no harmful fumes. The paint used is an indoor acrylic paint and primer.

For the gold leafing, I used a product I found on Amazon, called Wadities Gold Leaf Gilding Set.

Wadities Gold Leaf Gilding Set from Amazon.
https://amzn.to/4mvqjeG
acrossthelake.blog

I’m so glad I found this kit for my very first go at gold leafing. It came with everything I needed. The Gilding Adhesive, the Gold Leaves themselves, each individually wrapped in paper, the Varnish, and 2 cute little paint brushes. And as you can see, everything is water based, so perfect!

Gold Leaf sheets and paint brushes from my Wadities Gold Leaf Kit from Amazon.
https://amzn.to/4mvqjeG
acrossthelake.blog

I watched several YouTube videos before I began my project, just to get an idea of how it all works. Looks pretty simple, so let’s dive in!

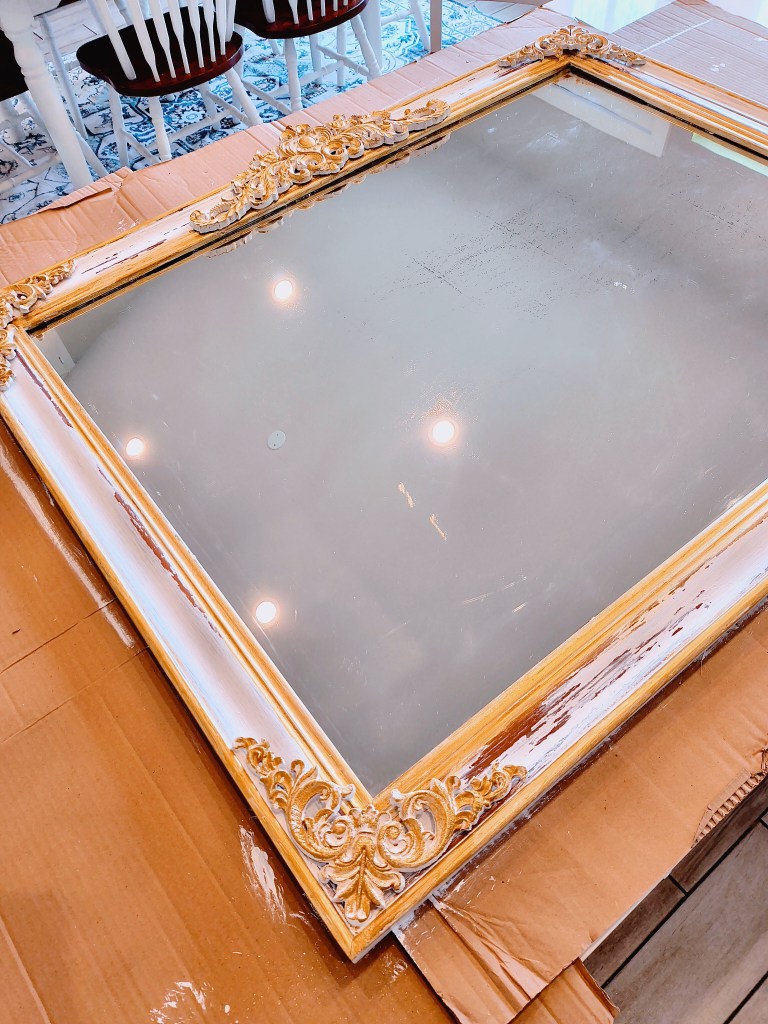
Before applying the gold leafing, I had to apply the gilding adhesive. I didn’t want full coverage gold leafing. I wanted to achieve a worn look, so I applied the adhesive sparsely, here and there, both to the front side and inside areas, as you can see completely through the open crown. I knew that there was no way to remember where the adhesive had been applied, but I knew the applied areas would be tacky to the touch. After applying the adhesive, I had to wait for 30 minutes.

After 30 minutes, our first sheet is going on!

Applying gold leafing to Royalview's crown.
https://amzn.to/4mvqjeG
acrossthelake.blog

It was very easy to discern where I had applied the adhesive, as it was definitely tacky in those areas. I just took a sheet and touched it to the metal, and it stuck on contact, where the glue had been applied. I then took one of the little provided paint brushes and brushed over where I had applied the leafing.

It was surprisingly really fun! I was nervous at first, but it was so easy and I was not, in any way, trying to be perfect with the application, so I just went all-in placing gilding sheets everywhere, and not brushing everything until I had all the tacky areas covered.

Gold leafing Royalview's crown.
https://amzn.to/4mvqjeG
acrossthelake.blog

You can see how random placement of the adhesive made it very easy to get a distressed, gilded look. The bits of gilding that do not stick, just flake away. I made sure to go over every surface area with the brush so that there was no more flaking.

Gold leafing applied:  Before the varnish.
https://amzn.to/4mvqjeG
acrossthelake.blog

After brushing it all down, I let it sit for the recommended 24 hours before applying the varnish top coat to seal it all in.

Applying the varnish was just as easy as everything else in this project, and it did not have a strong smell, which is a definite bonus.

And we’re all varnished!

Gilding project complete.  Royalview's new crown!
acrossthelake.blog
https://amzn.to/4mvqjeG

I’m super happy with the outcome, and the entire gold leafing process. So fun, and so easy. Willie really likes it to. He gave a big smile when he came in and saw it, and said it looked really good. So yay! 2 happy customers!

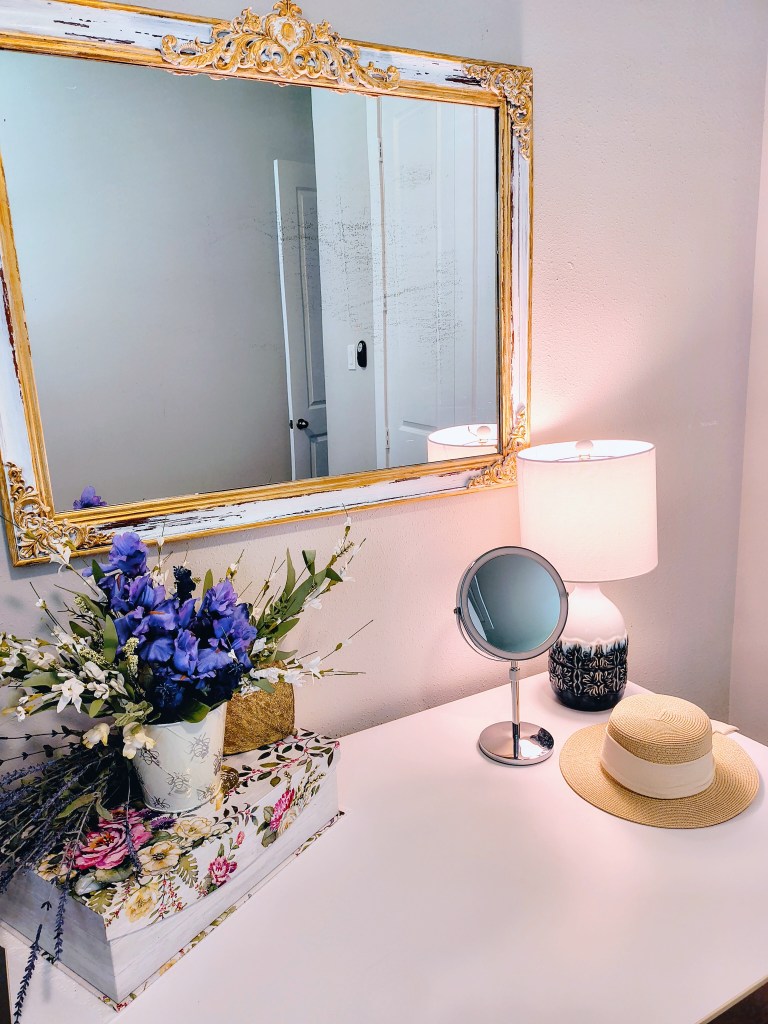
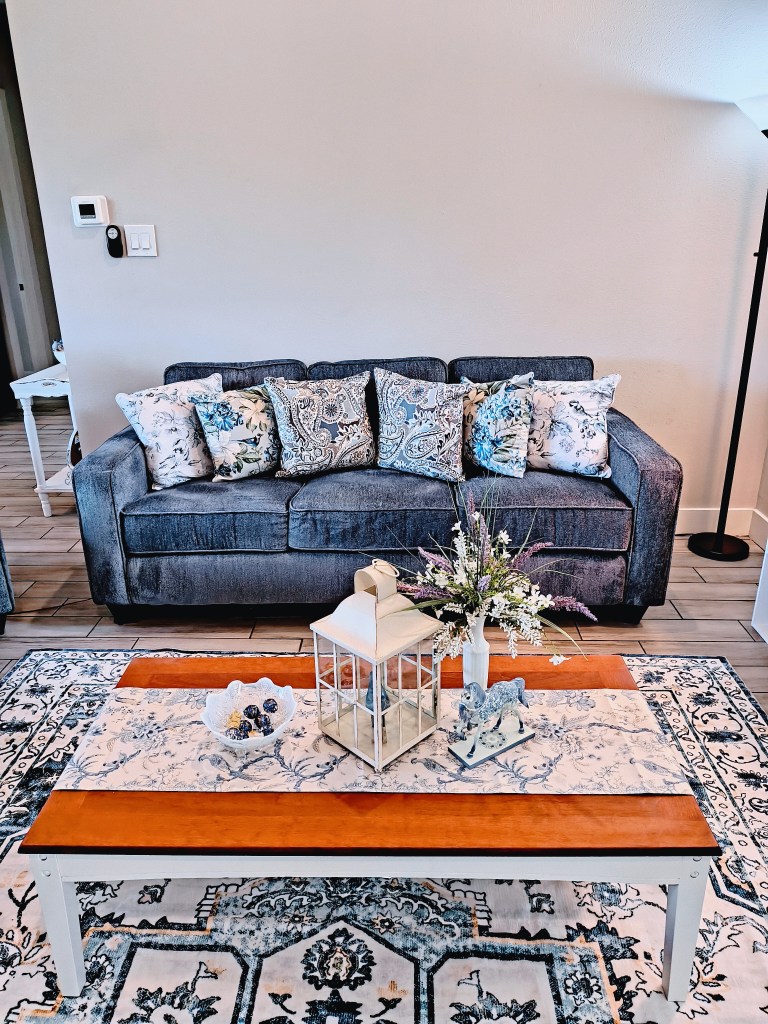
And now Royalview’s crown is displayed upon our living room coffee table, filled with (faux) white hydrangeas.

Royalview's gilded crown after pic.
acrossthelake.blog
https://amzn.to/4mvqjeG
Royalview's gilded crown after pic.
acrossthelake.blog
https://amzn.to/4mvqjeG

Love, love, love! I didn’t know how it would look after I got hold of it, but I’m certainly glad I was brave and gave it a try!

What project are you inspired to try? Do you love upcycling too? Feel free to leave a comment!

Till next time, always follow your joy! God is truly good!

Johanna and Willie

acrossthelake.blog

Home Decor, Upcycling, Trash to Treasure, Vintage Finds, Before and After Makeover, Gold Leafing, Gilding, On Metal, Easy DIY Project

DIY Home Decor Project: Vintage Venice Inspired Mirror Upcycle Using Wood Appliques

DIY Home Decor Project: Vintage Mirror Makeover using Wood Appliques from Amazon, After Photo
acrossthelake.blog
Amazon product link: https://amzn.to/4le3Xy8

Well, I wasn’t sure if I wanted to begin with the before, or the after photo. I’m opting for the after photo first. I’m so pleased with the outcome of this vintage mirror upcycle. I can’t believe I was able to achieve such a makeover all by myself. Well, with a little help from Willie, I suppose (winks!).

I found this old mirror in a building at Willie’s family business. Everything is being cleared out, so this would have most likely been thrown out if I had not salvaged it, especially in the shape I found it in.

DIY Vintage Mirror Makeover, Before Pic.
acrossthelake.blog

Now, who wouldn’t want to bring this beauty home? I mean, it’s gorgeous home decor!

But yeah, I had been on the hunt for a large mirror for Royalview, and I found 2, perhaps not in the best condition, but I thought they had good potential.

Willie was very kind to get this all cleaned up for me before we brought it indoors for it’s makeover. It looked a lot better after a good cleaning.

DIY Home Decor Project:  Vintage Mirror Makeover, Before Pic.
acrossthelake.blog

I knew I wanted to add some beautiful decorative embellishment to this mirror. I was inspired by a Vlogger I follow, called Walk With Me Tim. He and his wife stayed in a beautiful hotel in Venice where they had these gorgeous old mirrors that were very ornate, and yet the mirrors themselves were aged. This mirror had the same feels for me with the aging of the mirror, so let’s turn it into a vintage Venice inspired mirror!

Ornamental decorative wood appliques onlays for vintage mirror makeover project.  Easy to paint and apply to wood project.  From Amazon.  https://amzn.to/3FQvNl7
acrossthelake.blog

I found a very lovely set of wooden appliques, or onlays, from Amazon. This set is offered in a small or large size, and in sets of 5 or 10. I opted for size large, in a set of 10. This is enough for 2 projects, should I desire. (The rose appliques are for another project up the line, and not included in the set of 10 I used for this project.)

Set of beautiful wooden appliques onlays from Amazon,  https://amzn.to/3FQvNl7
acrossthelake.blog

The detail on these appliques is very intricate, and they are a good heft, as well. They are lightweight, but not so thin that they are too fragile to work with. Just perfect!

Ornate decorative wood appliques from Amazon.  https://amzn.to/3FQvNl7
acrossthelake.blog

Now, as I was sorting through my appliques and getting ready to paint them, Willie went to work attaching the French Cleat Picture Hanger wall bracket set that I found on Amazon as well. This gadget was a life-saver when it came to figuring out how to hang this very heavy mirror. The mirror was originally attached to a dresser, so there was no original wall hanging hardware.

It seemed very easy for him to attach two of the brackets on the back of the frame, and then the other two to the wall, and they just slip one inside the other to hang. Fabulous!

French Cleat Picture Hanger, wall bracket hardware set from Amazon.
https://amzn.to/4nd5S7L
acrossthelake.blog

I had a lot of fun painting the wooden appliques. I first painted them white, and then I went over them later (after they had dried), with a gold metallic paint, just sweeping it across the raised details.

Painting wood appliques from Amazon.
https://amzn.to/4k3dLdc
acrossthelake.blog

After I had painted the appliques, I got to work painting the mirror frame. I first taped off the mirror using painter’s tape so that I would not get paint on the mirror itself. This is very easily removed after the paint dries, and it makes a big difference in getting a sharp edge on your paint, next to the mirror.

When I began painting the mirror, I wasn’t sure how I wanted it to look. White-washed? Fully painted? No… this has to look like it’s been around for centuries. The paint has begun to chip. That’s the ticket!

I began with a top coat, then I went back over it (in sections) with another coat. I let that second coat dry just a bit, till it was almost dry, then I rubbed across it with a slightly damp paper towel. Since I left the original varnish on the mirror, it was a little “slick” underneath my new paint, so I was able to get my (almost, but still not dry) second coat of paint to literally peel off on some of the raised areas, allowing the original brown color to come through. Since I wanted it to look like the paint has organically chipped off over time, I did not want any white-wash smudge, so I took another damp(er) paper towel and wiped the brown areas to bring back the original sheen.

Distressing paint to make it look like it chipped off over time.
acrossthelake.blog

Here is the type of paint I used by Benjamin Moore (not sponsored). I’ve been using this same paint for all my recent projects. It has been wonderful to work with for all my paint effects. It is an Interior Acrylic Paint and Primer, in a Satin/Pearl finish. It’s not shiny or iridescent, as the name would make one think.

I completed the entire mirror, using this method, one side at a time. It really doesn’t take that long to do, and is quite fun!

Distressed/chipped paint effect on a vintage mirror.
acrossthelake.blog

If I “messed up” I would just paint back over the area and wait for it to get almost dry, and rub away again. Only one area, right here in the above corner, gave me any trouble. I just couldn’t seem to get it the way I wanted, but it came out fine in the end. Probably no one but me would even notice. It’s supposed to be old and organically chipped, right?

Now jumping ahead, I used FolkArt Acrylic Paint in Pure Gold (from Amazon) to highlight the inside and outside edges of the mirror, as well as highlight all the raised areas of the wooden appliques.

Vintage mirror makeover, Venice inspired look, using ornate wooden appliques from Amazon.
https://amzn.to/4k3dLdc
acrossthelake.blog

I then glued on all the wooden appliques. Hot glue works best, in my opinion. I first used super glue, but one corner came off after hanging, so hot glue to the rescue!

Vintage mirror makeover, upcycle, from trash to treasure, using wood appliques, overlays, from Amazon.
https://amzn.to/44hVPWz
acrossthelake.blog
Venice inspired vintage mirror upcycle using wooden appliques from Amazon.
https://amzn.to/44hVPWz
acrossthelake.blog

I just love it. This is my favorite decor makeover that I’ve done thus far, and I love it now hanging over my makeup table in my office.

Completed DIY Paint Project.  Venice Inspired Mirror Makeover in White and Gold, Using Wood Appliques from Amazon.
https://amzn.to/44hVPWz
acrossthelake.blog

I hope my salvaged project inspires you to create something fabulous for your space.

Till next time, be kind, and always follow your joy! God is truly good!

Johanna and Willie

acrossthelake.blog

DIY Home Decor Paint Project, Venetian, Venice Inspired Mirror Makeover, Salvaged, From Trash to Treasure Home Decoration, Vintage Mirror Upcycle, Conroe, Texas, Lakehouse

Vintage Mirror Makeover DIY Project: From Western Motif to French Country Home Decor

Western Motif Vintage Mirror Before Transformation.
acrossthelake.blog

So, we’ve been on the look-out for mirrors for Royalview for a little while now. I, in particular, have been keeping an eye out for a full-length mirror for our bedroom, as well as a mirror for my office/make-up room.

Western Motif Vintage Mirror Before Makeover.
acrossthelake.blog

The price tag that comes along with a beautiful large mirror is pretty large as well, we’ve noticed, so when I spotted this beauty at one of my favorite booth’s at Yesterday’s Treasures, I was definitely interested, and when Willie told me the price, I was sold. ($25.00)

It’s not quite the look and style as Royalview’s decor, as I’m sure you’ve noticed, but if you’ve been following our story here for a bit, you know I’m up for a challenge, armed with my can of white paint. So, yeah, after giving it a good look-over, I said, “I can paint it white!”.

It was listed as a Western Motif Mirror, and it does have some pretty designs. The frame is very large and ornate, so definitely something I can work with.

For this project I did need to get the painters tape out and fully line all sides of the mirror to make sure not to get paint on the mirror itself.

Western Motif Vintage Mirror Before Painting, with Blue Painters Tape.
acrossthelake.blog

I decided not to sand this, even though it seemed to have some type of varnish over the paint, and with 2 coats of white paint, the old brown, black, and gold tones were a distant memory.

Vintage Mirror Makeover.  Painted White.
acrossthelake.blog

I did allow some of the old tones to show through, to let it still have a vintage look, but this time I took things to the next level by adding blue paint to the little circle details. At first I was going to paint each one perfectly, but then I decided it would be better to give it an imperfect, distressed look.

Vintage Mirror Makeover in White and Blue.
acrossthelake.blog

I’m very delighted how it turned out. It was a very easy project to do. The mirror just needed to be cleaned a bit and painted. It has a lot of character, and a new life now at Royalview.

The toughest things about this project came after completing the makeover: Deciding where and how to hang it.

The how to hang it has now being taken care of thanks to Amazon. I found a French Cleat Picture Hanger Kit that we will be trying out here very soon. This mirror weighs in at approximately 25 pounds. Yes, Willie weighed it. It feels much heavier to me. The kit(s) I found have different sizes for different weights. This is going to make hanging it so much easier and safer.

And for the where. My initial thought for this mirror was definitely for our bedroom wall.

Completed vintage mirror makeover.  
acrossthelake.blog

This is large enough to use as a full-length dressing mirror, but after I painted it, I looked into the living room and thought how beautiful this would be over our main sofa (hung horizontally). The wall over our sofa has been kept blank till we find the “perfect” item, or items to adorn that focal area.

Bare living room wall awaiting decor.
acrossthelake.blog

I don’t know for sure yet where it will find it’s place.

I do have two more vintage mirrors that are awaiting transformation. These two I got for free, rummaging through one of the buildings at Willie’s family’s business that’s being cleared out.

Here are the two lovelies.

Vintage mirror awaiting transformation.
acrossthelake.blog

Think I have my work cut out for me?

Vintage dresser mirror awaiting transformation.
acrossthelake.blog

I know there will be a lot of cleaning involved, for sure!

But, I do have some ideas, and I’ve ordered some things already for these, including the French Cleat Hangers, of course. The brown one is off of a dresser, so it definitely will need hardware to hang.

That yellow mirror is so pretty, though. That one will either be in my office (the brown one will be over my dressing table in my office/make-up room) as a full length dressing mirror, or in our bedroom if the other goes over the sofa, so stay tuned!

I’m just so happy to be able to breathe new life into these almost lost mirrors. They are all good-sized mirrors, and in good shape mostly. I’m hoping once the dirt is wiped from these last two, that the mirrors themselves are good. From what I can see, they look like they will be ok.

Okay gang, till next time, please remember to be kind, and always follow your joy!

Johanna and Willie

acrossthelake.blog

Vintage Mirror DIY Paint Makeover Project, French Country House Decor, Lake House Decor, Conroe, Texas, Arts and Crafts

Royalview Landscape Makeover, Dramatic Before and After Photo Reveal: Front Lawn

The transformation is complete!

Willie and I are very happy, very pleased, ecstatic, all the above, with the results of our completed landscape makeover. So, if you’re all ready… Drum roll please… Sit back and enjoy these very dramatic before and after photos detailing our front lawn makeover.

I’ll begin with our front door entryway. This has to be my favorite. Although, every area is my favorite, there’s just nothing like the view from our front door.

Before photo:  View from our front door.  acrossthelake.blog
Before: View from our Front Door

This view already had me in awe. Being able to open my front door and see the lake across the street was very exciting and unbelievable to me on our first visit to our new home.

This is now the view from our front door:

After photo:  View from our front door.  acrossthelake.blog
After: View from our Front Door

And, it’s very functional as well as beautiful. I was not able to walk up to, or down from, our front porch. This was also the case with visitors and mail/delivery people. Our mailman made the comment to us that we just made his life a lot easier. No more traipsing through the ditch and climbing a hill to get to us. Awesome!

Next is the Southern front corner of our front yard. We are on a corner lot, so this area is seen the most by passerby’s and this area also has a great view of the lake. We can see the lake from our front porch, as well as from our yard in areas between our neighbor’s houses, and this is one of the areas, so we decided this would make a great place for a garden and seating area with a swing.

These photos also show the transformation of our front facade.

Before:

Before Photo:  Front Porch to South Lawn View and Front Facade.  acrossthelake.blog
Before: Front Porch to South Lawn View and Front Facade

After:

After photo front porch to South lawn and front facade.
acrossthelake.blog
After Photo Front Porch to South Lawn and Front Facade

A closer look at the front South Lawn garden from the road:

After photo:  South Lawn Garden Area.  acrossthelake.blog
After: South Lawn Garden Area

A closer look at the bridge:

After photo:  South Lawn Bridge.  acrossthelake.blog
After: Front South Lawn Garden Bridge

Where there once was nothing but brush, we can now stroll across the bridge and enjoy a beautiful garden as well as a lovely view of the lake. A nice place to enjoy an ice cream bar or ice tea, and a friendly chat.

Next, let’s stroll on over to the Northern corner of our front lawn, and visit our second garden with seating area:

Before:

Before Photo:  View from our porch to our front North Lawn area.
acrossthelake.blog
Before: View from Front Porch to our North Lawn Area

After:

After photo of our North front lawn from our front porch.
acrossthelake.blog
After: View of our North Front Lawn area from our Front Porch

That is really quite the difference, isn’t it? We can now simply walk down our front steps and across a path to sit and enjoy another garden and beautiful lake view.

I’d also like to share a before photo of Keren of Eagle A. Improvements, in collaboration with Albert of HOU_TEX Outdoor Services, from when they first came out and took a look around to gather ideas, and then an after photo of their very beautiful work after completion.

Before Photo:  Albert and Keren visiting our property for the first time.  acrossthelake.blog
Before Photo: Albert and Keren Visiting our Property For the First Time

After:

After photo of our front yard from our driveway.
acrossthelake.blog
After Photo View of Landscape Transformation

Here are more after photos of Royalview from a road view:

Royalview after landscaping makeover.  
acrossthelake.blog
Royalview after Landscape Makeover
Royalview after landscape makeover.  acrossthelake.blog
Royalview after Landscape Makeover
Royalview after landscape makeover.  acrossthelake.blog
Royalview After Landscape Makeover

Willie and I are both looking forward to seeing everything in full bloom soon. Spring, and pollen, are in the air for sure. It’s so nice having butterflies and bumblebees stopping by to visit all the lovely flowers.

Next post will be the before and after photo reveal of our back yard, so stay tuned.

Till next time, stay safe, and follow your joy!

Johanna and Willie

acrossthelake.blog

Before and After Landscape Photo Reveal, Landscape Design, Houston, Conroe, TX, Landscape Makeover, Renovation, Garden Bridge, Beautiful Gardens, Lifestyle Blog, Home and Garden

Blog at WordPress.com.

Up ↑