This is the final one! My last mirror in waiting, now given her makeover.
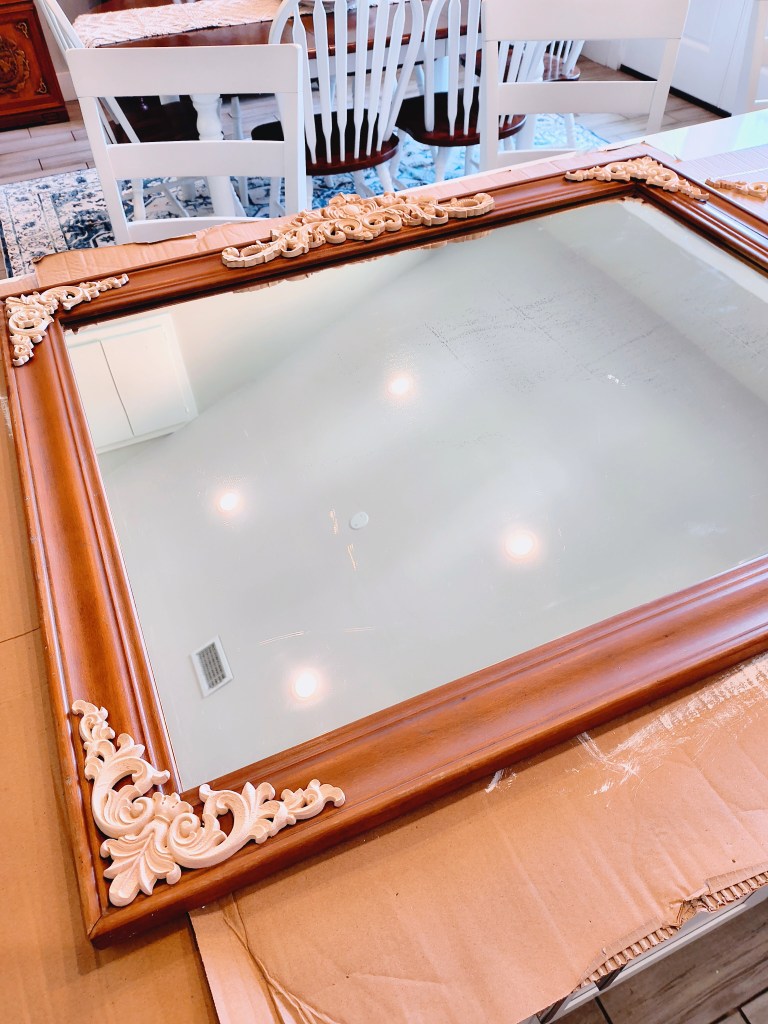
This is how I found her, abandoned in a dirty storage building.
I will not go into too many details on this makeover, since I’ve already posted in length about the previous two, but I’ll show you some of the process.
Of course the mirror had to be cleaned before any work could begin. Willie took care of most of that outside, and then I did the final wipe-downs inside right before painting.
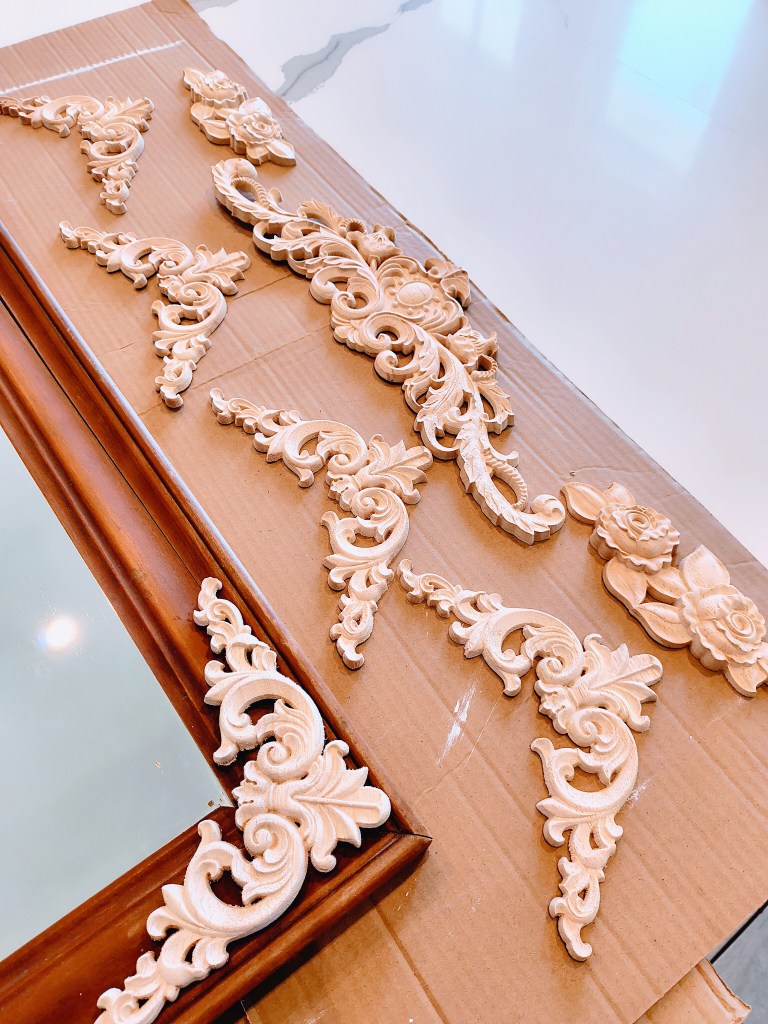
Willie removed the previous wooden appliques that were featured on this mirror, and I chose 2 appliques with roses for the top, and then 2 corner embellishments for the bottom.
I got the mirror taped off, and then began painting. To be honest, I did not know how I wanted it painted. I only knew that I wanted it to be blue. I purchased peacock blue and teal paints, as I am wanting to bring in more of these types of blue tones into my office. I ended up using both tones of paint, along with white. I am not a professional painter, or makeover artist, I just jump in and go for it!
I began by first applying some white paint, then swiping over it with the blue tones. I went with teal down the sides, and and peacock along the top and bottom.
I ended up blending the blues, but I just wasn’t happy with how it was coming out. But not to dismay. I decided to go back over it with white paint again.
After a little back and forth, I am happy with the results.
As you can see, I painted all the wooden appliques using the same type of method. These were a lot easier to do than the mirror. I just painted a white base coat, then dry brushed the peacock blue and teal paints across the raised edges.
I also painted a white plaster rose hanger, and an iron hat rack, using the same paints and technique.
Now I have a cute out the door station in my office, with my purse, hats, and mirror, for last check.
I hope my project inspires you to try something new yourself.
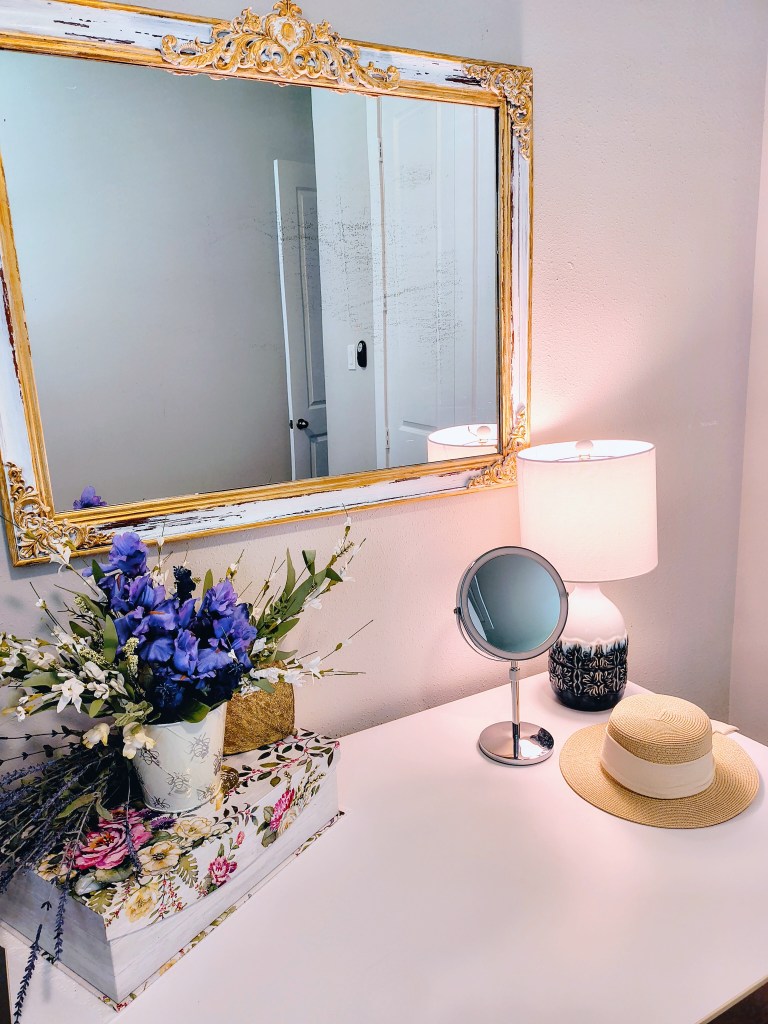
Well, I wasn’t sure if I wanted to begin with the before, or the after photo. I’m opting for the after photo first. I’m so pleased with the outcome of this vintage mirror upcycle. I can’t believe I was able to achieve such a makeover all by myself. Well, with a little help from Willie, I suppose (winks!).
I found this old mirror in a building at Willie’s family business. Everything is being cleared out, so this would have most likely been thrown out if I had not salvaged it, especially in the shape I found it in.
Now, who wouldn’t want to bring this beauty home? I mean, it’s gorgeous home decor!
But yeah, I had been on the hunt for a large mirror for Royalview, and I found 2, perhaps not in the best condition, but I thought they had good potential.
Willie was very kind to get this all cleaned up for me before we brought it indoors for it’s makeover. It looked a lot better after a good cleaning.
I knew I wanted to add some beautiful decorative embellishment to this mirror. I was inspired by a Vlogger I follow, called Walk With Me Tim. He and his wife stayed in a beautiful hotel in Venice where they had these gorgeous old mirrors that were very ornate, and yet the mirrors themselves were aged. This mirror had the same feels for me with the aging of the mirror, so let’s turn it into a vintage Venice inspired mirror!
I found a very lovely set of wooden appliques, or onlays, from Amazon. This set is offered in a small or large size, and in sets of 5 or 10. I opted for size large, in a set of 10. This is enough for 2 projects, should I desire. (The rose appliques are for another project up the line, and not included in the set of 10 I used for this project.)
The detail on these appliques is very intricate, and they are a good heft, as well. They are lightweight, but not so thin that they are too fragile to work with. Just perfect!
Now, as I was sorting through my appliques and getting ready to paint them, Willie went to work attaching the French Cleat Picture Hanger wall bracket set that I found on Amazon as well. This gadget was a life-saver when it came to figuring out how to hang this very heavy mirror. The mirror was originally attached to a dresser, so there was no original wall hanging hardware.
It seemed very easy for him to attach two of the brackets on the back of the frame, and then the other two to the wall, and they just slip one inside the other to hang. Fabulous!
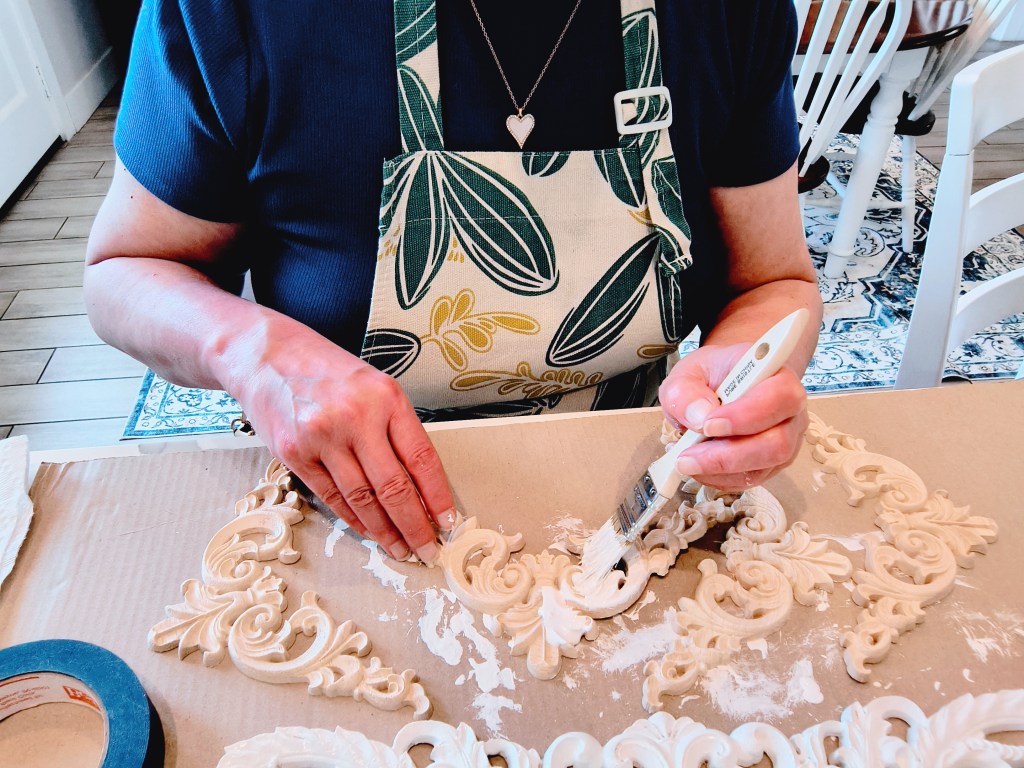
I had a lot of fun painting the wooden appliques. I first painted them white, and then I went over them later (after they had dried), with a gold metallic paint, just sweeping it across the raised details.
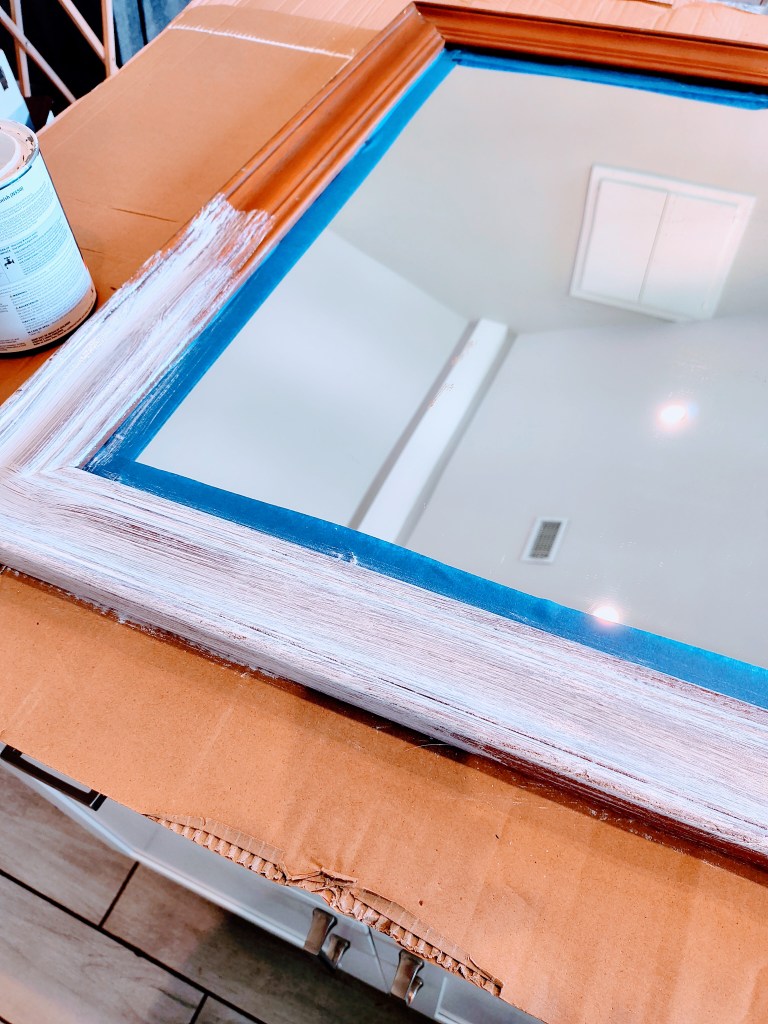
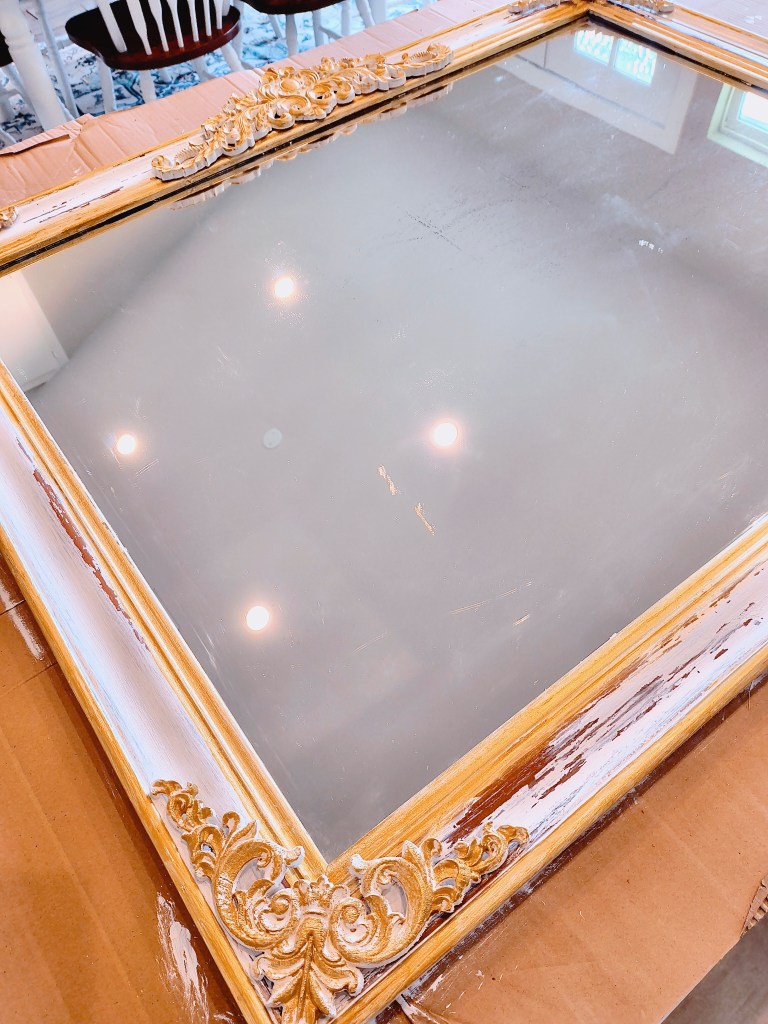
After I had painted the appliques, I got to work painting the mirror frame. I first taped off the mirror using painter’s tape so that I would not get paint on the mirror itself. This is very easily removed after the paint dries, and it makes a big difference in getting a sharp edge on your paint, next to the mirror.
When I began painting the mirror, I wasn’t sure how I wanted it to look. White-washed? Fully painted? No… this has to look like it’s been around for centuries. The paint has begun to chip. That’s the ticket!
I began with a top coat, then I went back over it (in sections) with another coat. I let that second coat dry just a bit, till it was almost dry, then I rubbed across it with a slightly damp paper towel. Since I left the original varnish on the mirror, it was a little “slick” underneath my new paint, so I was able to get my (almost, but still not dry) second coat of paint to literally peel off on some of the raised areas, allowing the original brown color to come through. Since I wanted it to look like the paint has organically chipped off over time, I did not want any white-wash smudge, so I took another damp(er) paper towel and wiped the brown areas to bring back the original sheen.
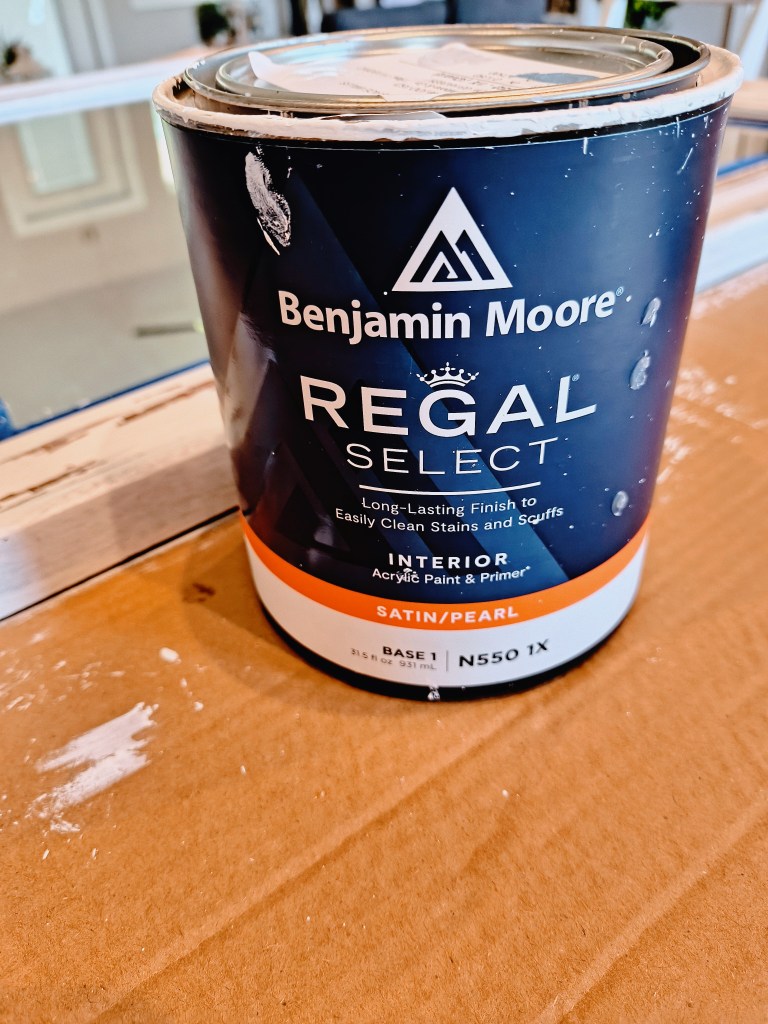
Here is the type of paint I used by Benjamin Moore (not sponsored). I’ve been using this same paint for all my recent projects. It has been wonderful to work with for all my paint effects. It is an Interior Acrylic Paint and Primer, in a Satin/Pearl finish. It’s not shiny or iridescent, as the name would make one think.
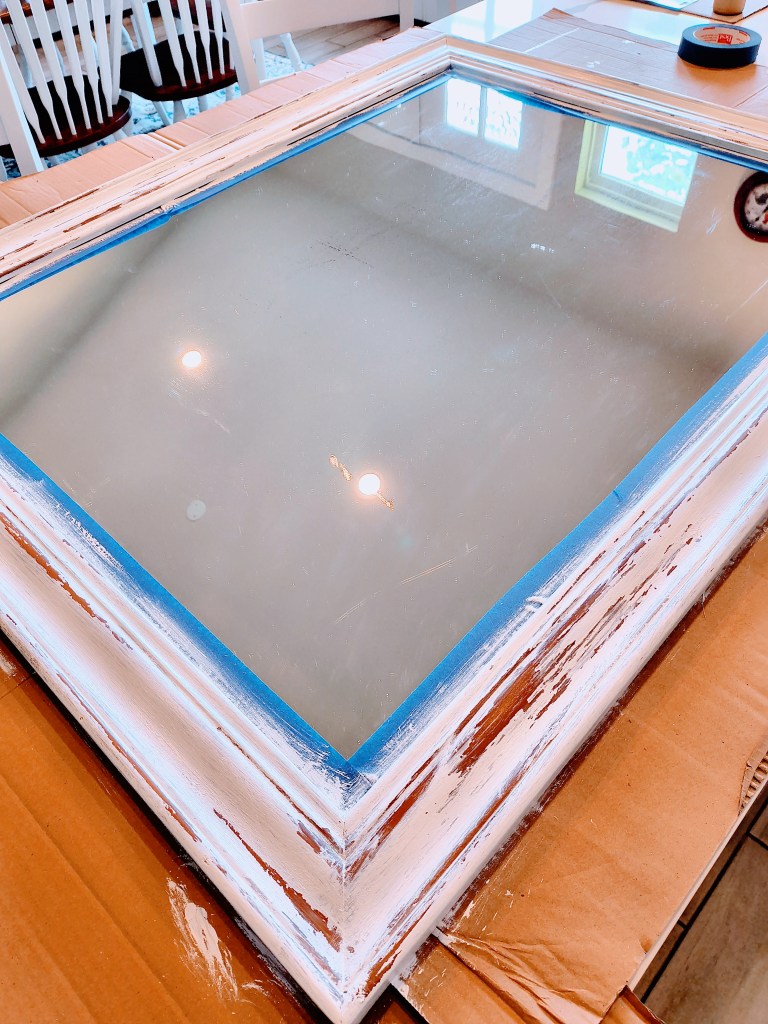
I completed the entire mirror, using this method, one side at a time. It really doesn’t take that long to do, and is quite fun!
If I “messed up” I would just paint back over the area and wait for it to get almost dry, and rub away again. Only one area, right here in the above corner, gave me any trouble. I just couldn’t seem to get it the way I wanted, but it came out fine in the end. Probably no one but me would even notice. It’s supposed to be old and organically chipped, right?
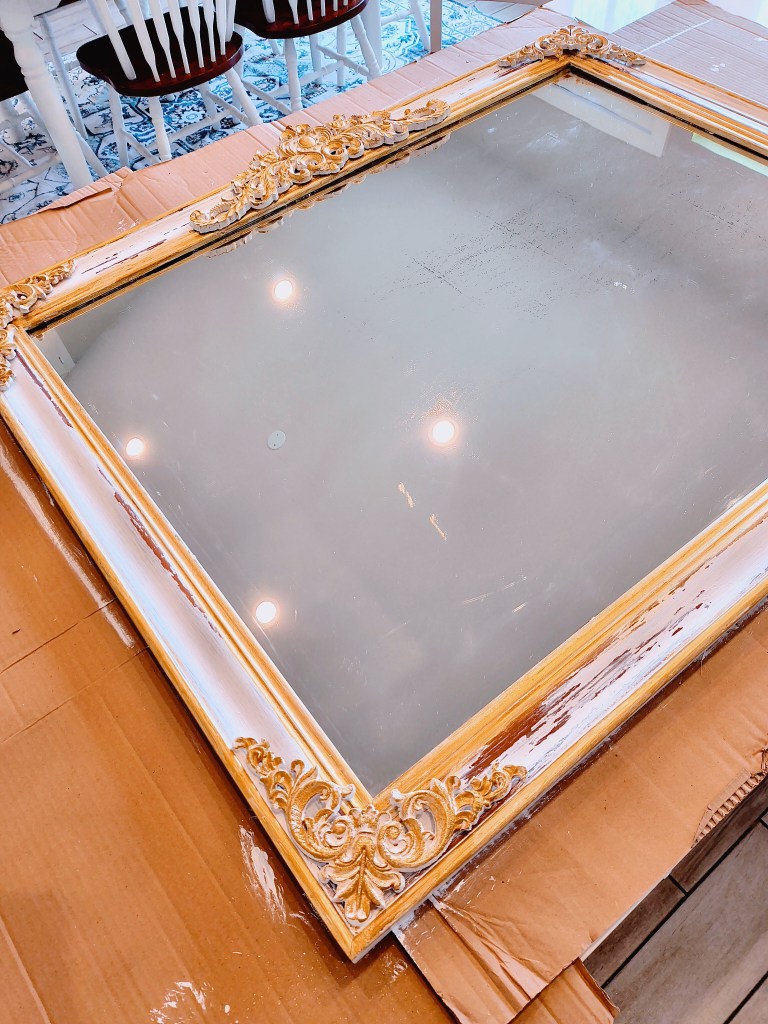
Now jumping ahead, I used FolkArt Acrylic Paint in Pure Gold (from Amazon) to highlight the inside and outside edges of the mirror, as well as highlight all the raised areas of the wooden appliques.
I then glued on all the wooden appliques. Hot glue works best, in my opinion. I first used super glue, but one corner came off after hanging, so hot glue to the rescue!
I just love it. This is my favorite decor makeover that I’ve done thus far, and I love it now hanging over my makeup table in my office.
I hope my salvaged project inspires you to create something fabulous for your space.
Till next time, be kind, and always follow your joy! God is truly good!
Johanna and Willie
acrossthelake.blog
DIY Home Decor Paint Project, Venetian, Venice Inspired Mirror Makeover, Salvaged, From Trash to Treasure Home Decoration, Vintage Mirror Upcycle, Conroe, Texas, Lakehouse