
So, we’ve been on the look-out for mirrors for Royalview for a little while now. I, in particular, have been keeping an eye out for a full-length mirror for our bedroom, as well as a mirror for my office/make-up room.
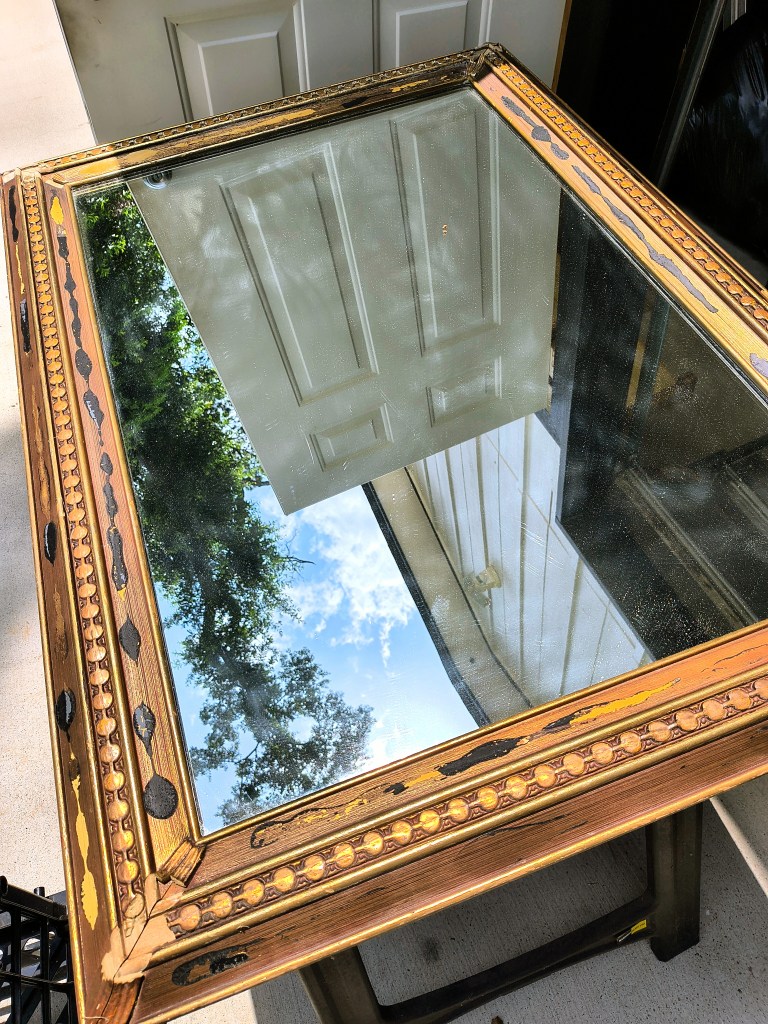
The price tag that comes along with a beautiful large mirror is pretty large as well, we’ve noticed, so when I spotted this beauty at one of my favorite booth’s at Yesterday’s Treasures, I was definitely interested, and when Willie told me the price, I was sold. ($25.00)
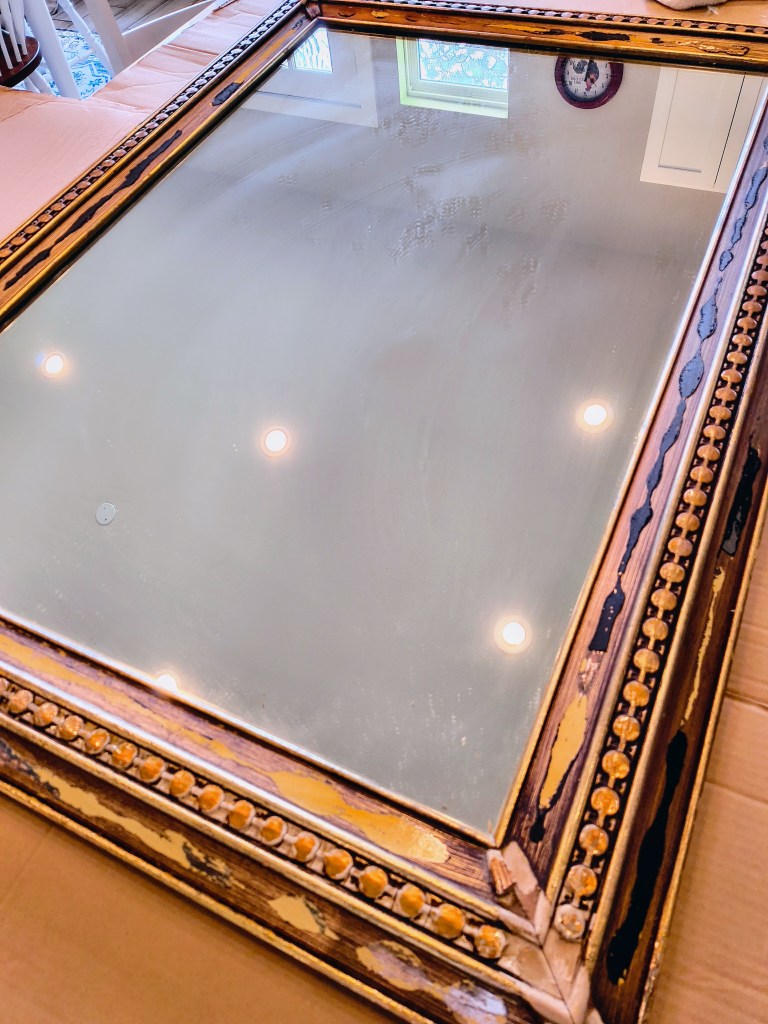
It’s not quite the look and style as Royalview’s decor, as I’m sure you’ve noticed, but if you’ve been following our story here for a bit, you know I’m up for a challenge, armed with my can of white paint. So, yeah, after giving it a good look-over, I said, “I can paint it white!”.
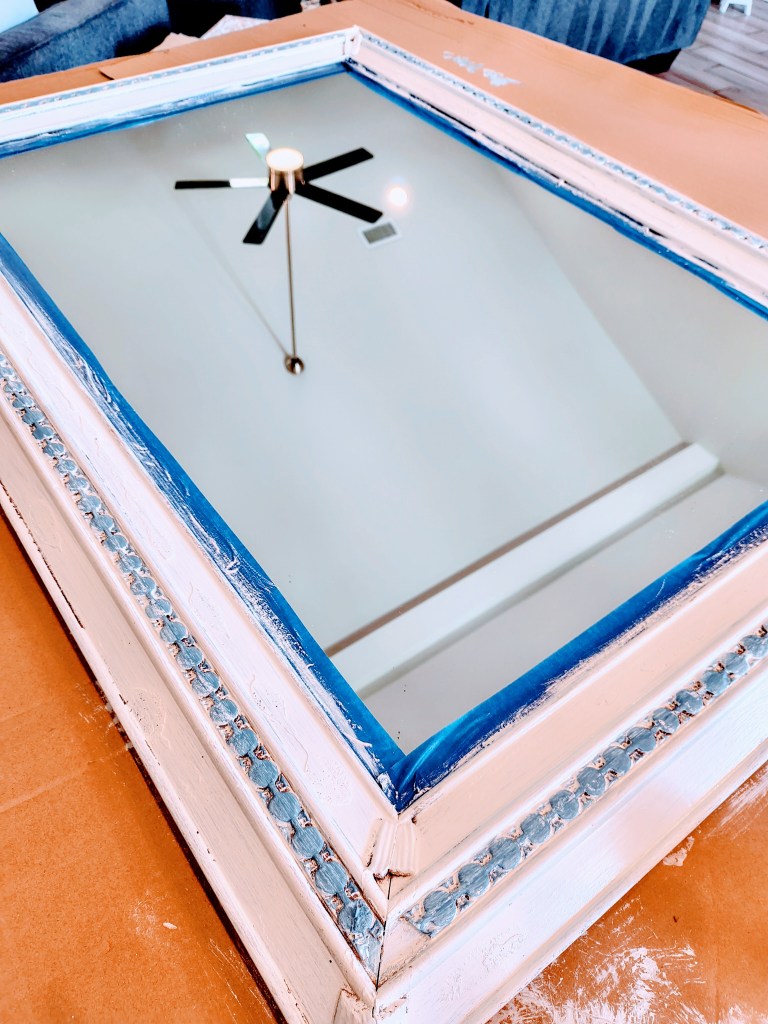
It was listed as a Western Motif Mirror, and it does have some pretty designs. The frame is very large and ornate, so definitely something I can work with.
For this project I did need to get the painters tape out and fully line all sides of the mirror to make sure not to get paint on the mirror itself.
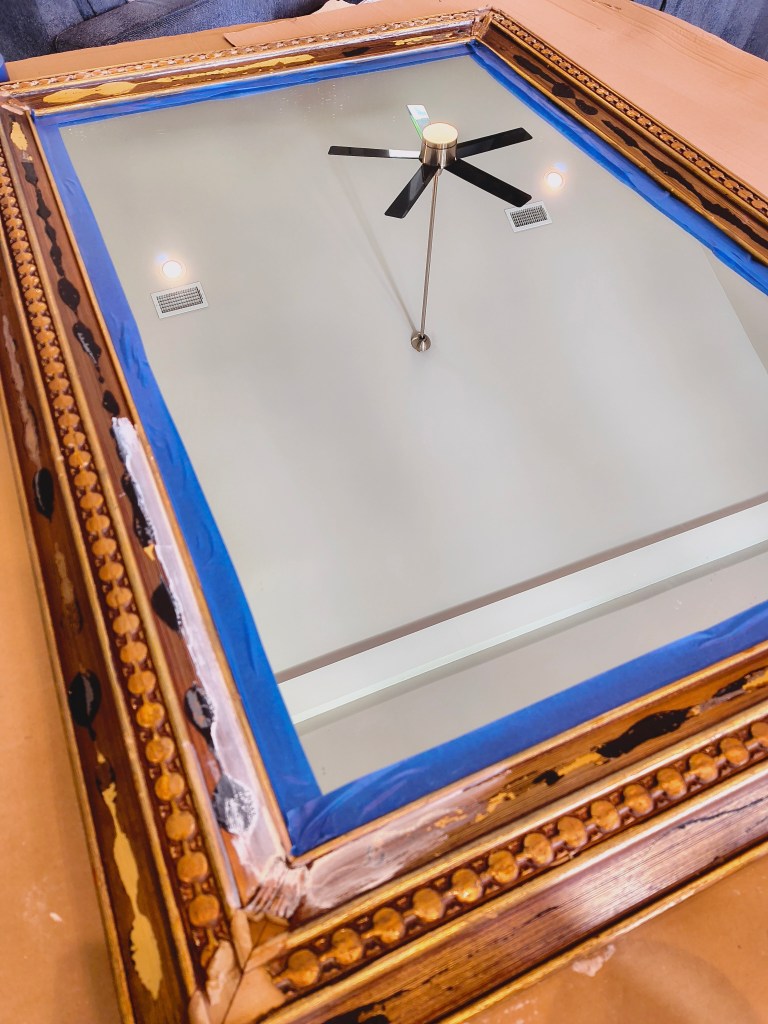
I decided not to sand this, even though it seemed to have some type of varnish over the paint, and with 2 coats of white paint, the old brown, black, and gold tones were a distant memory.
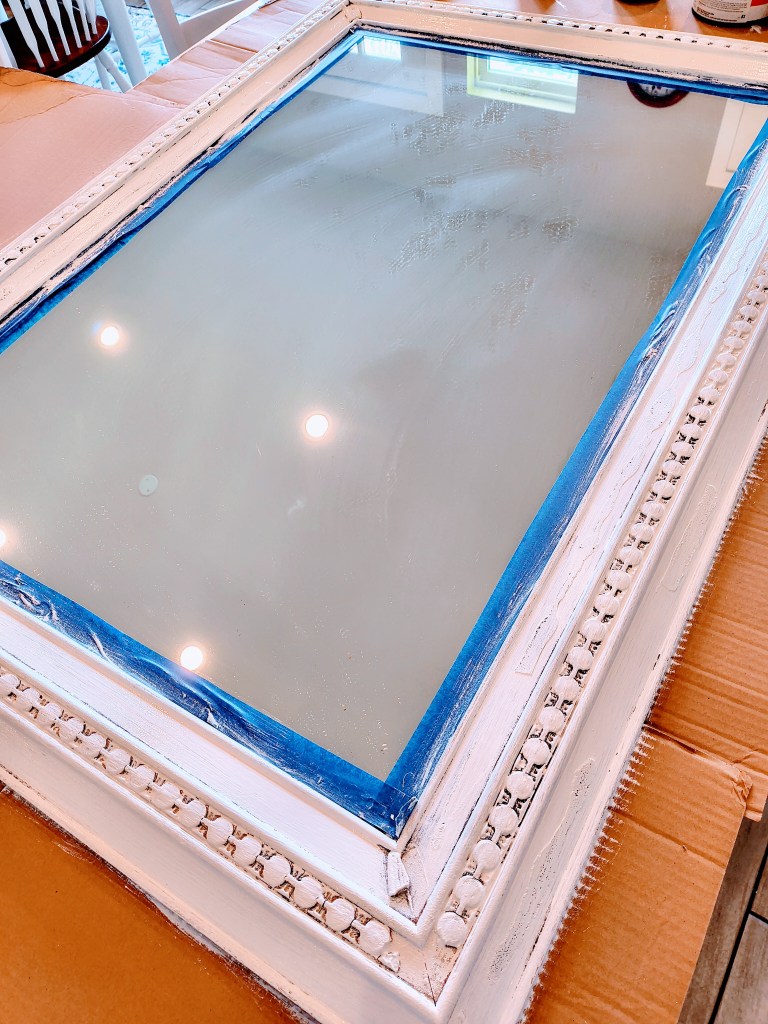
I did allow some of the old tones to show through, to let it still have a vintage look, but this time I took things to the next level by adding blue paint to the little circle details. At first I was going to paint each one perfectly, but then I decided it would be better to give it an imperfect, distressed look.
I’m very delighted how it turned out. It was a very easy project to do. The mirror just needed to be cleaned a bit and painted. It has a lot of character, and a new life now at Royalview.
The toughest things about this project came after completing the makeover: Deciding where and how to hang it.
The how to hang it has now being taken care of thanks to Amazon. I found a French Cleat Picture Hanger Kit that we will be trying out here very soon. This mirror weighs in at approximately 25 pounds. Yes, Willie weighed it. It feels much heavier to me. The kit(s) I found have different sizes for different weights. This is going to make hanging it so much easier and safer.
And for the where. My initial thought for this mirror was definitely for our bedroom wall.
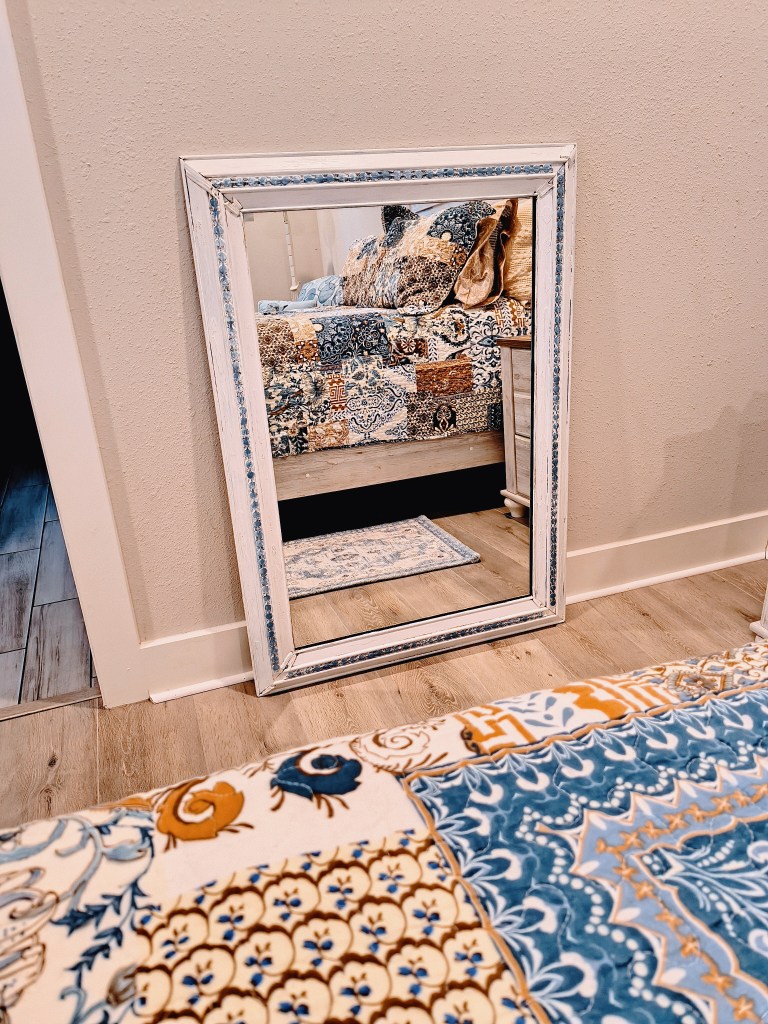
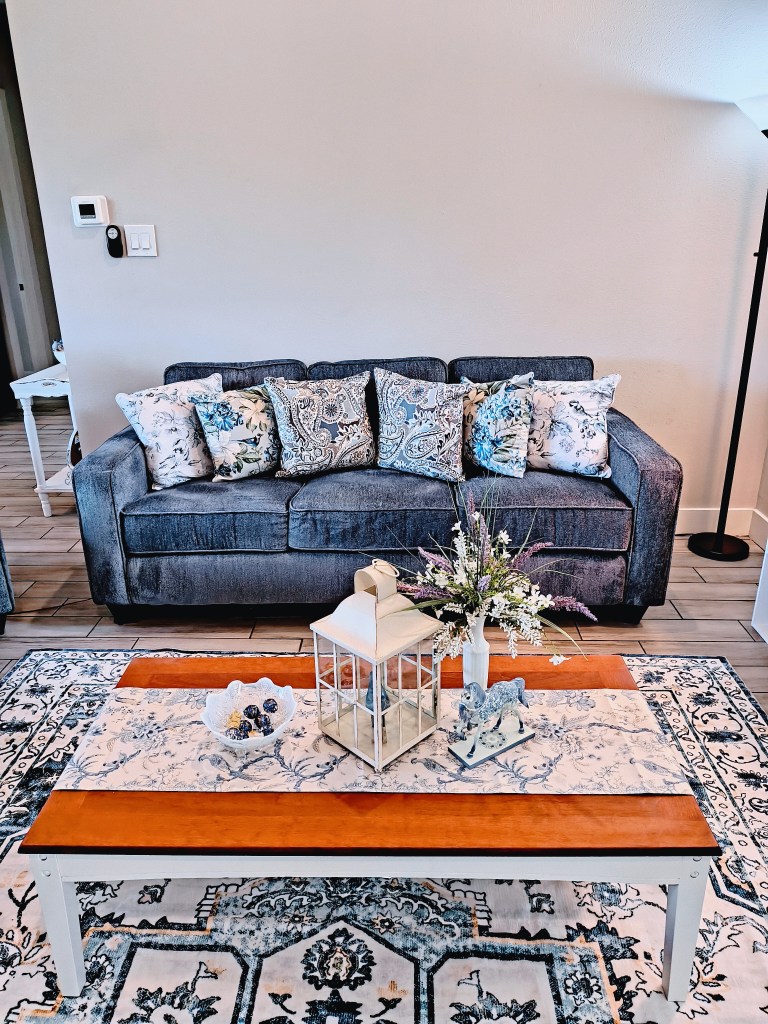
This is large enough to use as a full-length dressing mirror, but after I painted it, I looked into the living room and thought how beautiful this would be over our main sofa (hung horizontally). The wall over our sofa has been kept blank till we find the “perfect” item, or items to adorn that focal area.
I don’t know for sure yet where it will find it’s place.
I do have two more vintage mirrors that are awaiting transformation. These two I got for free, rummaging through one of the buildings at Willie’s family’s business that’s being cleared out.
Here are the two lovelies.

Think I have my work cut out for me?

I know there will be a lot of cleaning involved, for sure!
But, I do have some ideas, and I’ve ordered some things already for these, including the French Cleat Hangers, of course. The brown one is off of a dresser, so it definitely will need hardware to hang.
That yellow mirror is so pretty, though. That one will either be in my office (the brown one will be over my dressing table in my office/make-up room) as a full length dressing mirror, or in our bedroom if the other goes over the sofa, so stay tuned!
I’m just so happy to be able to breathe new life into these almost lost mirrors. They are all good-sized mirrors, and in good shape mostly. I’m hoping once the dirt is wiped from these last two, that the mirrors themselves are good. From what I can see, they look like they will be ok.
Okay gang, till next time, please remember to be kind, and always follow your joy!
Johanna and Willie
acrossthelake.blog
Vintage Mirror DIY Paint Makeover Project, French Country House Decor, Lake House Decor, Conroe, Texas, Arts and Crafts
